
Starting with a new theme, it takes a lot of time for first time users to really understand how it works. You may want to know how to customize layouts, typography, block styles and make it look the way you want.
We created an installation profile with demo content for each of our theme, so that you can quickly download and reproduce the whole site content as presented on our live demo. This way you will get a quicker overview of the features. If it's convenient you may also use the given demo content as a starting point to build your custom sites.
In most cases you won't need to know PHP or database queries, but basic knowledge would be very helpful to get great results.
How to install a WeebPal demo package
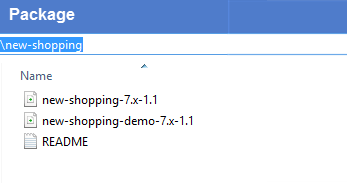
1. Download one theme package of your choice (e.g. New Shopping)
Files included:
- README.txt
- New Shopping theme package: new-shopping-7.x-1.1.zip
- New Shopping demo package: new-shopping-demo-7.x-1.1.zip. This demo package includes all source codes and content, including sample images. This package will be used to build a site like our demo for the theme easily.
The below steps will give you the installation guide so that you can build your website to look exactly like the New Shopping Demo
- new-shopping-demo-7.x-1.1.zip
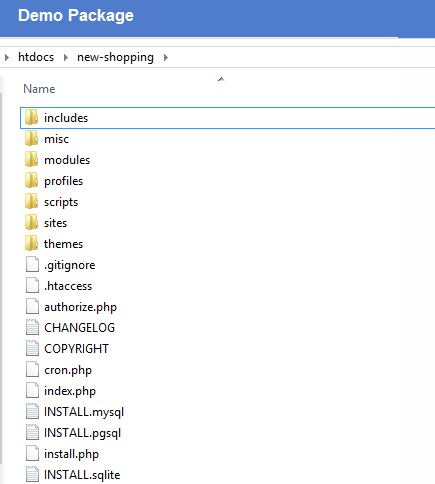
2. Extract new-shopping-demo-7.x-1.1.zip above and copy it into your host, and rename the directory to new-shopping
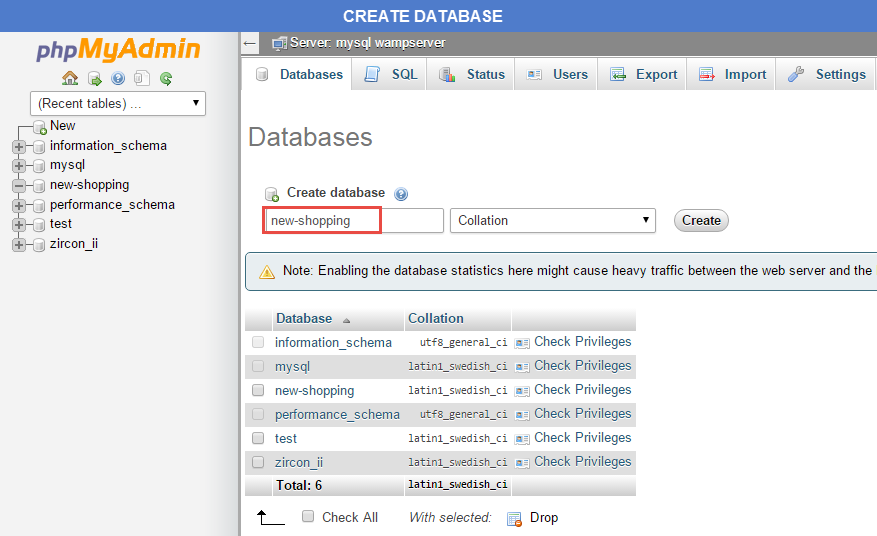
3. Access your MySQL database and create a new database (e.g. new_shopping) and user account. Don't forget to add correct permissions to new user to access the database
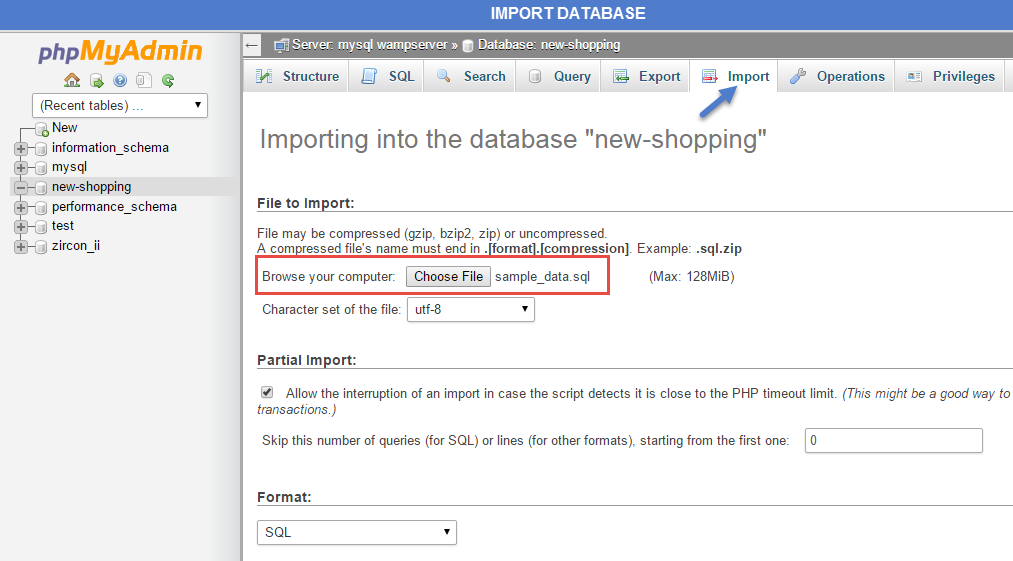
4. In the demo directory database/ (or profile/weebpal), you can find database dump named sample_data.sql.
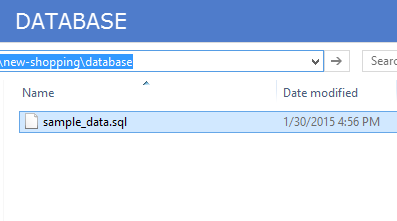
Import this file into new database.
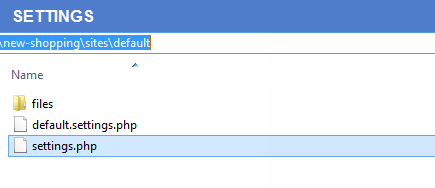
5. Now, you need to modify sites/default/default.settings.php file. Clone default.settings.php file, then rename it "settings.php"
6. Open settings.php, then locate the $database array and set proper credentials.
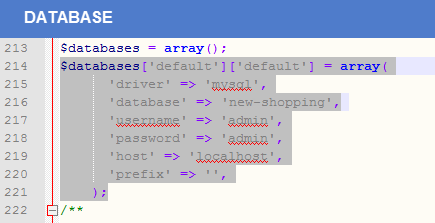
$databases['default']['default'] = array( 'driver' => 'mysql', 'database' => 'databasename', 'username' => 'username', 'password' => 'password', 'host' => 'localhost', 'prefix' => '', );
When using this installation, you are installing everything from our preview server. So don't forget to set proper values to access to your database: db name, db admin username, db admin password, host, etc.
7. Open the browser and visit your website with the prepopulated content & layout exactly like our New Shopping Demo
Now, you can visit administrator site with the admin account admin/admin to delete the unnecessary contents and add the new ones.