
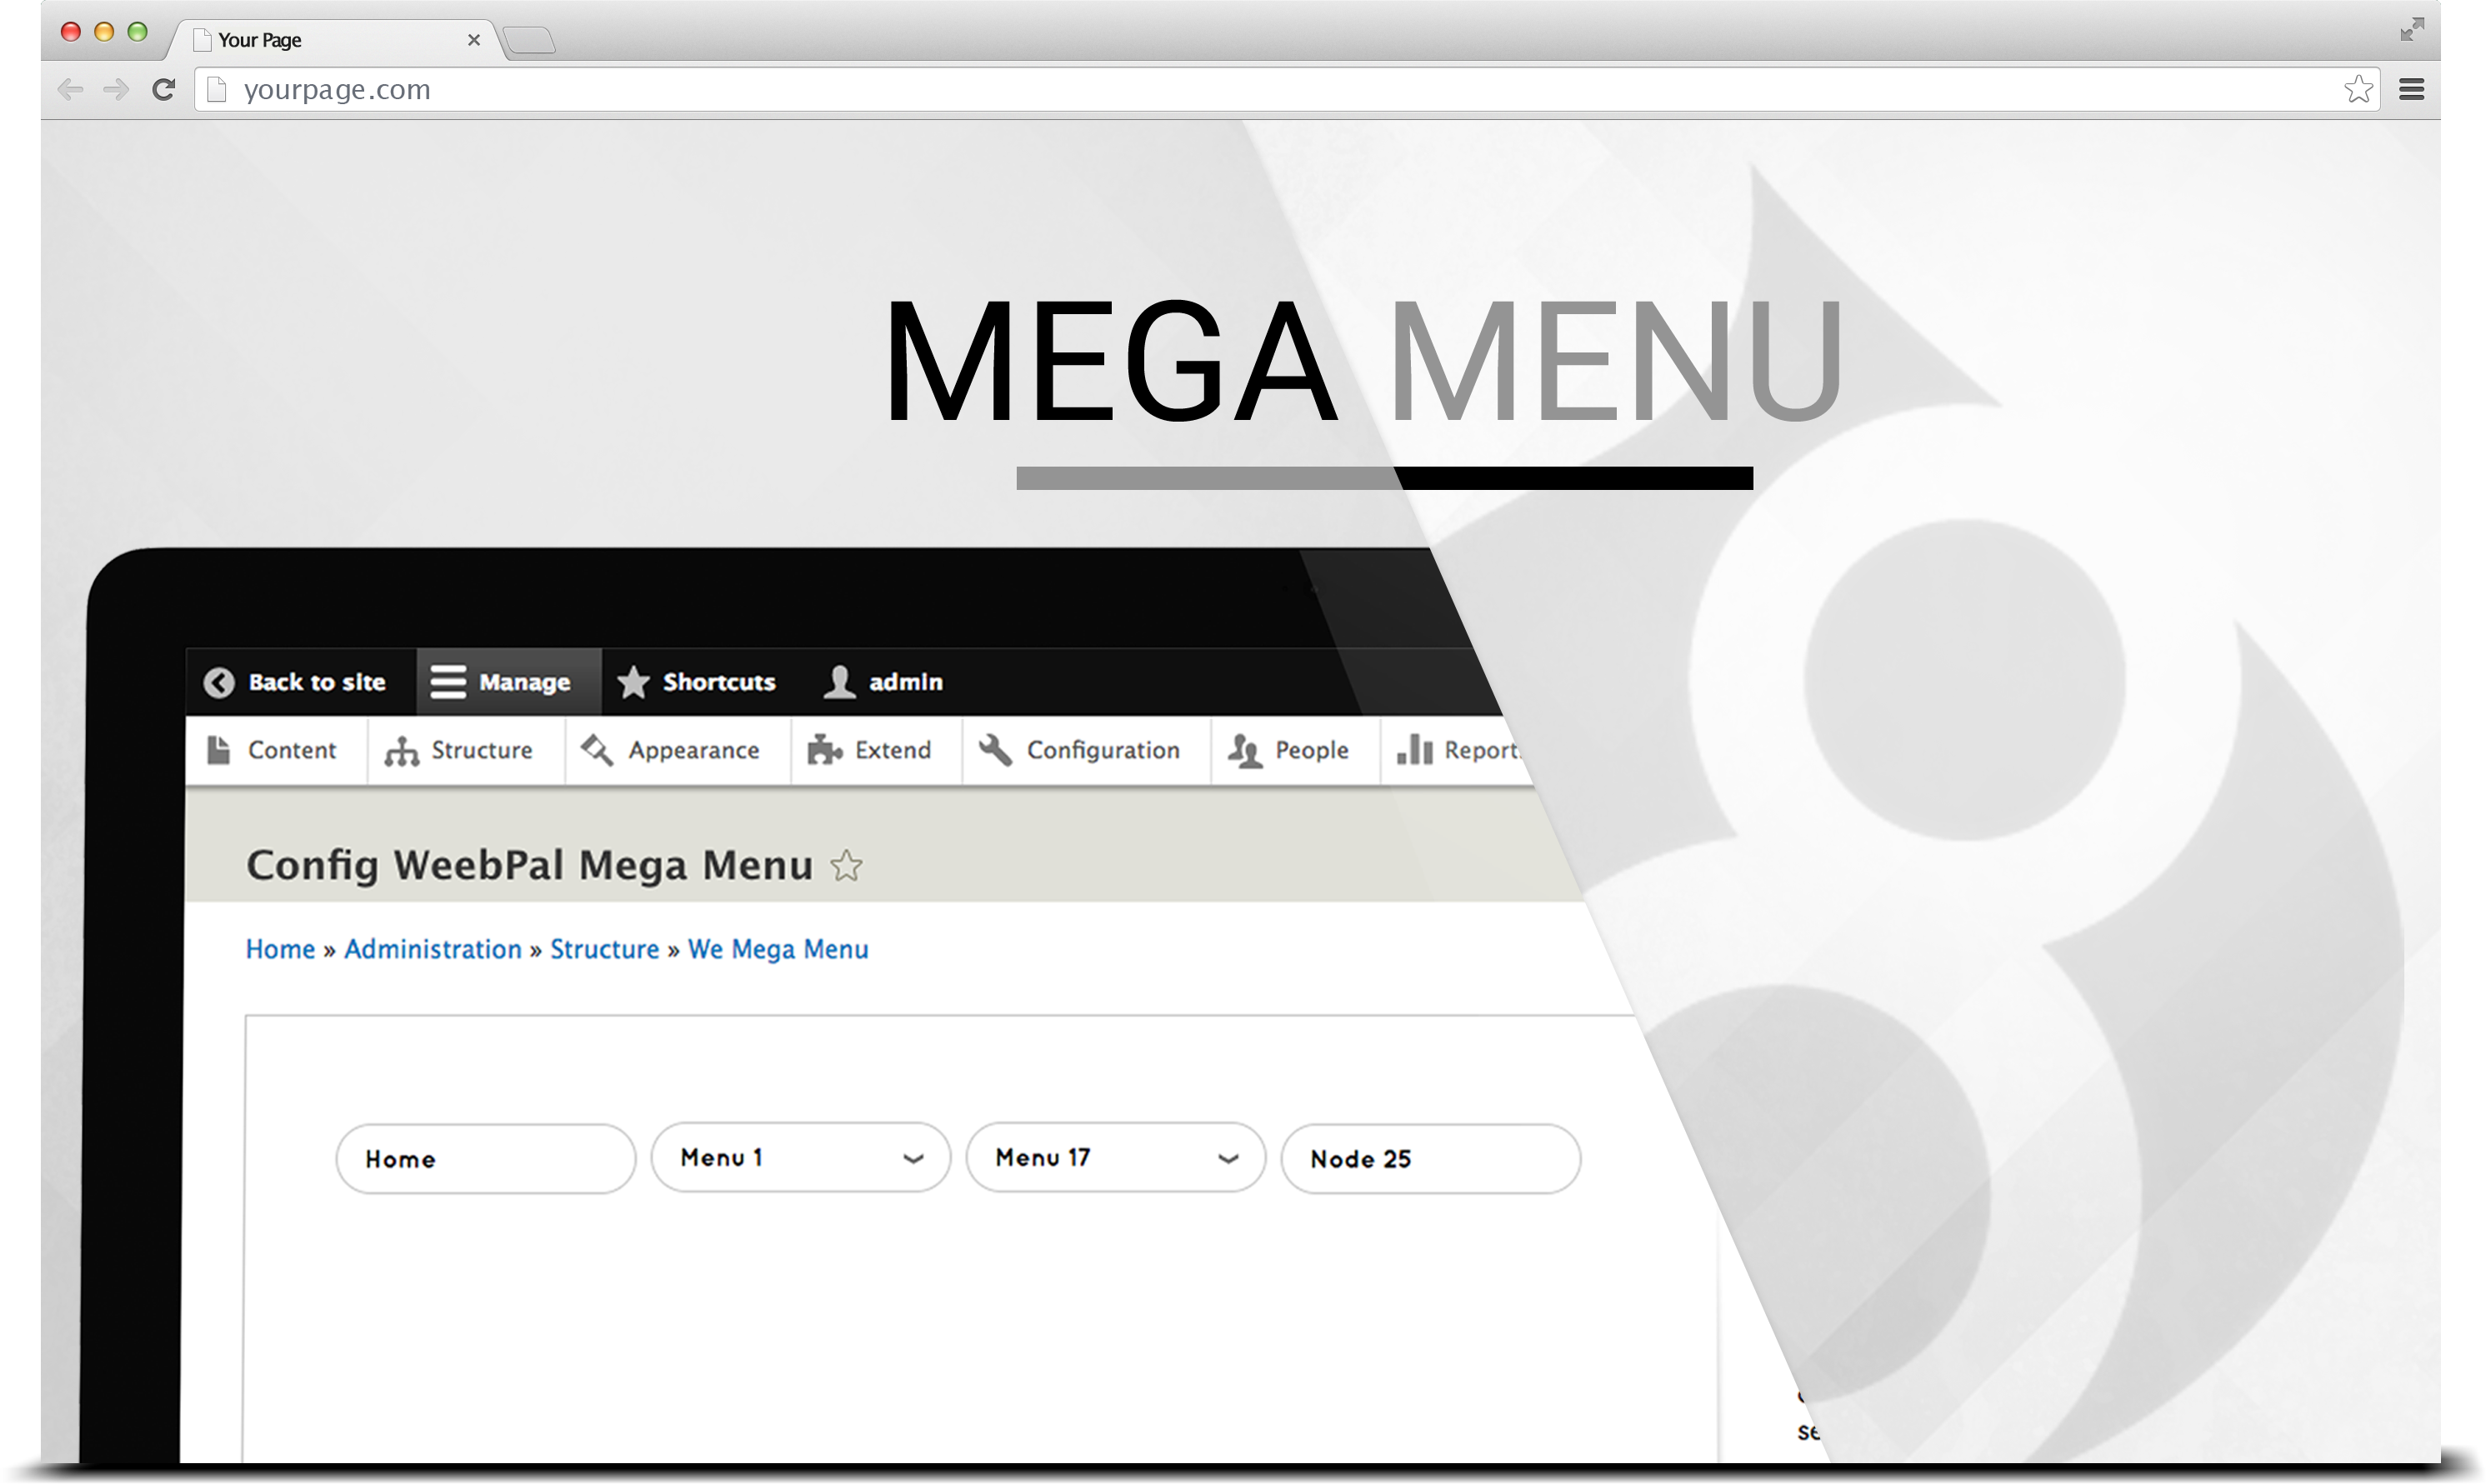
Overview
We have been searching for a versatile mega menu module in D8 and found none. The default menu of D8 is great but it doesn't give developers the ability to custom and bring in ideal results immediately. Over the period of working on lots of D8 projects since its first launch, we have coded a menu module to reuse in other themes, projects. We have some good feedbacks from our clients.
We think why not sharing with other people and save countless time for developing and customizing.
So mega menu D8 is born to help D8 Drupal developers with the menu - the first visual part that any visitor will look at upon visiting your website. A great super mega menu will not only help save developers invaluable working time but at the same time gives your website an instant incredible impression on your website viewers.
1. Made for Drupal 8
- Well integrated with all versions of Drupal 8.
- The only D8 mega menu that comes with lots of flexible functions.
- Inherit from TB Megamenu D7.
- Has been used and proven in most of Drupal 8 D8 themes.
2. Powerful and Extensible Mega Menu for the website
- Easy-to-use backend config.
- No prior coding experiences required.
- Unlimited menu, sub-menu expanding.
- Ability to add, remove multiple columns, blocks.
- Able to add exclusive classes, icons, item captions.

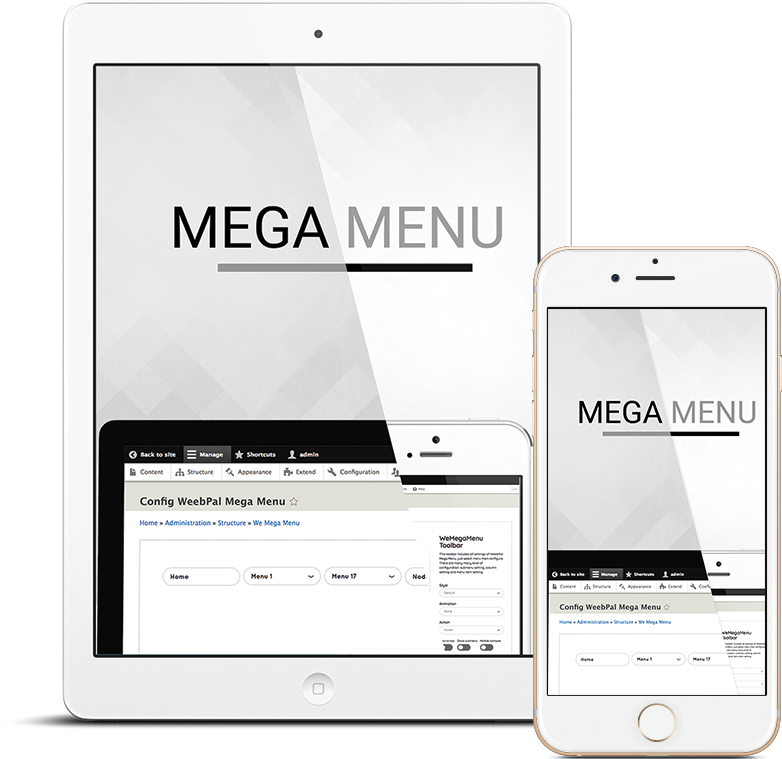
3. Fully responsive out of the box
- Future-proof design for all devices.
- Scale to fit all mobiles and tablets' screens.
- Minimal responsive menu.
Installation
How to install Drupal 8 MegaMenu
Log into your site.
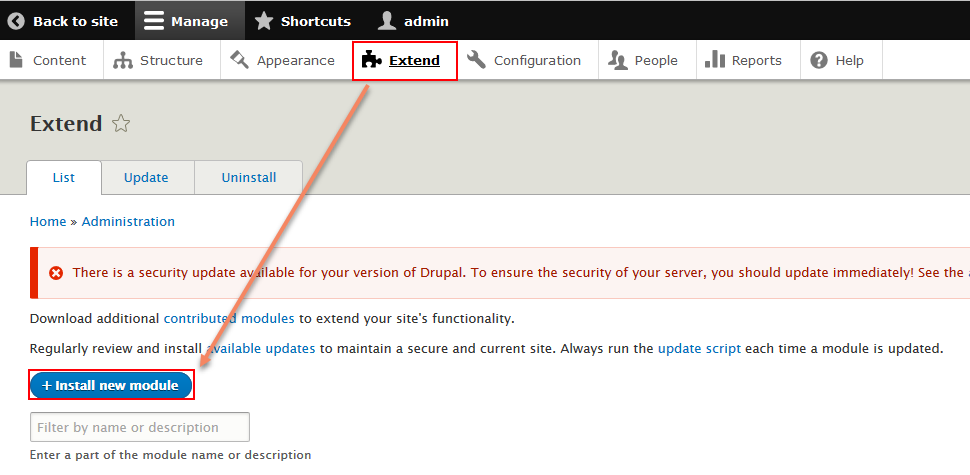
In menu admin: Choose Extend > Install new module.
There are two ways of installation.
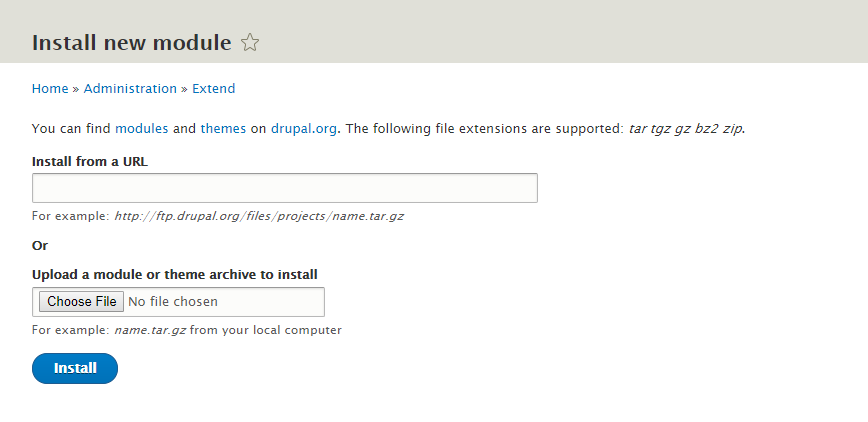
Method 1: Install from a URL.
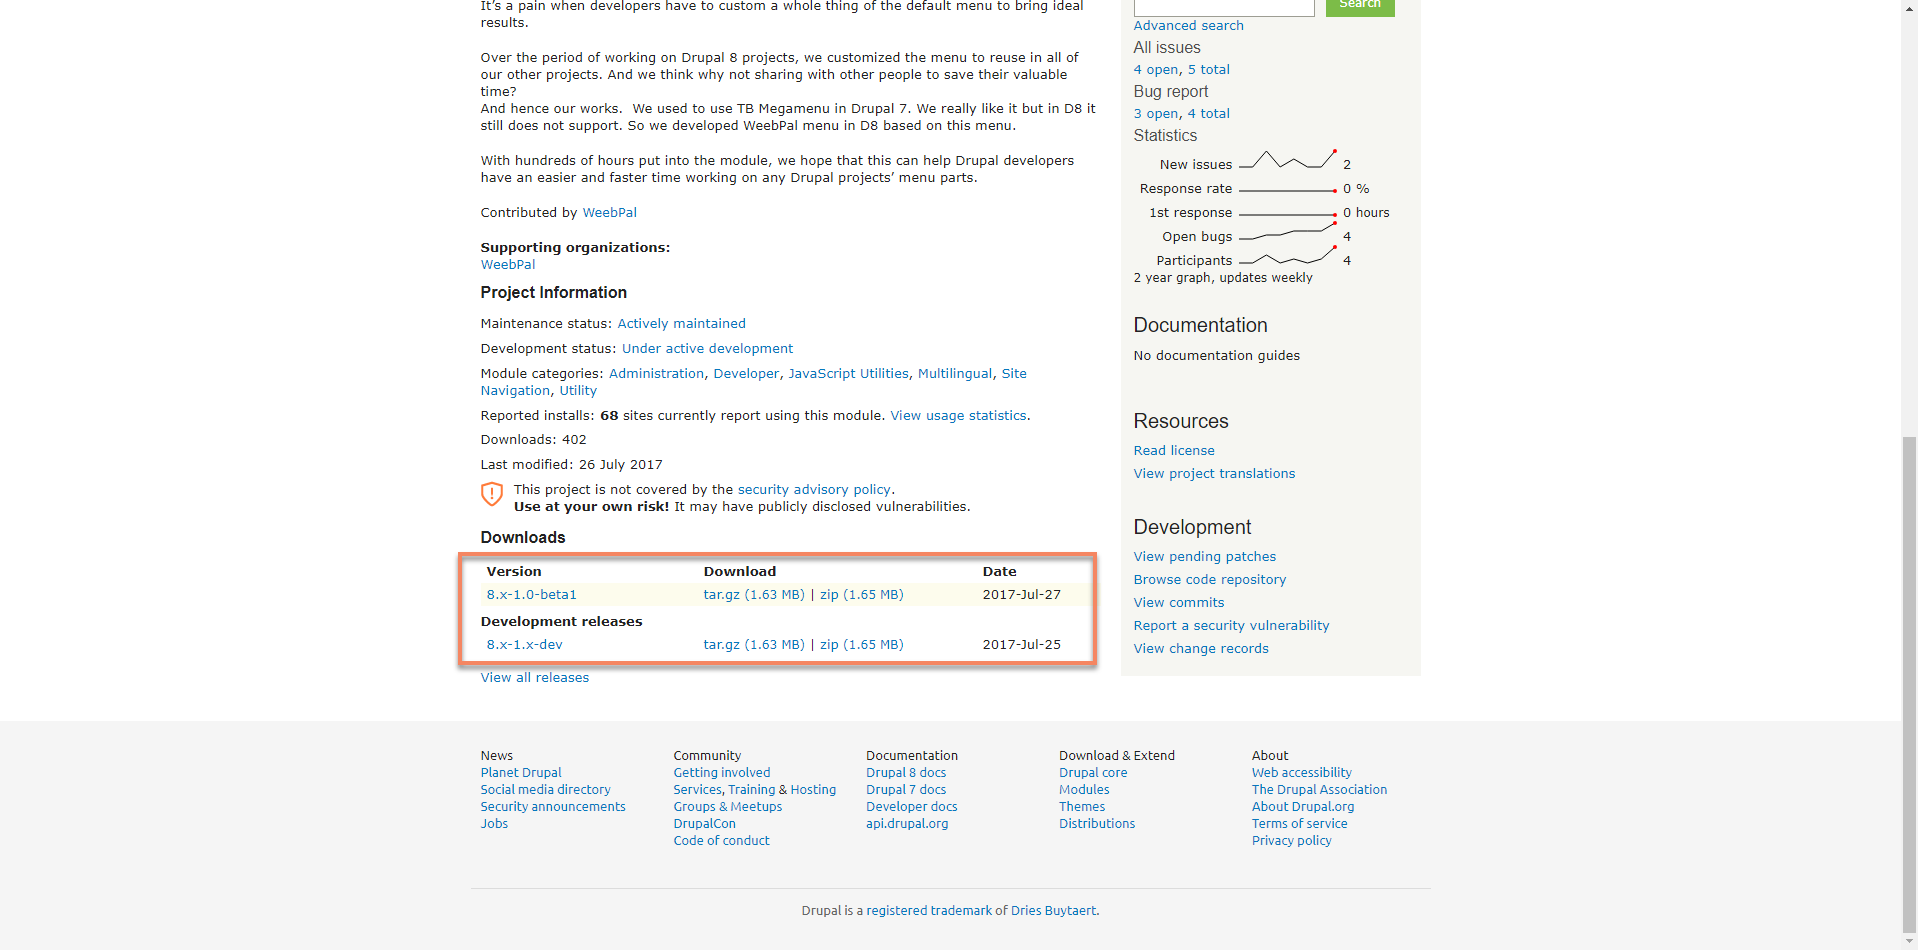
1. Access to website: https://www.drupal.org/project/we_megamenu
2. Right click on the link to get the URL and select Copy link address

3. Go back to the module settings page. In the Install from a URL line, right-click and select Paste


4. Click Install button to install module Drupal 8 MegaMenu
Method 2: Upload a module or theme archive to install.
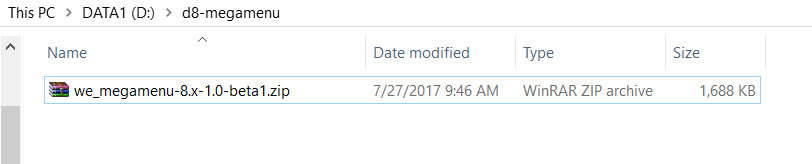
1. Download Module at site https://www.drupal.org/project/we_megamenu
2. Go back to the module settings page. Click Choose File button and choose file have name we_megamenu-8.x-1.0-beta1.zip

4. Click Install button to install module Drupal 8 MegaMenu
Activate the Drupal 8 MegaMenu module
1. In menu admin: click Extend

2. The module list is displayed. Search module have name Drupal 8 Mega Menu. And click the checkbox in front

3. Click Install Activate module Drupal 8 MegaMenu
Setup
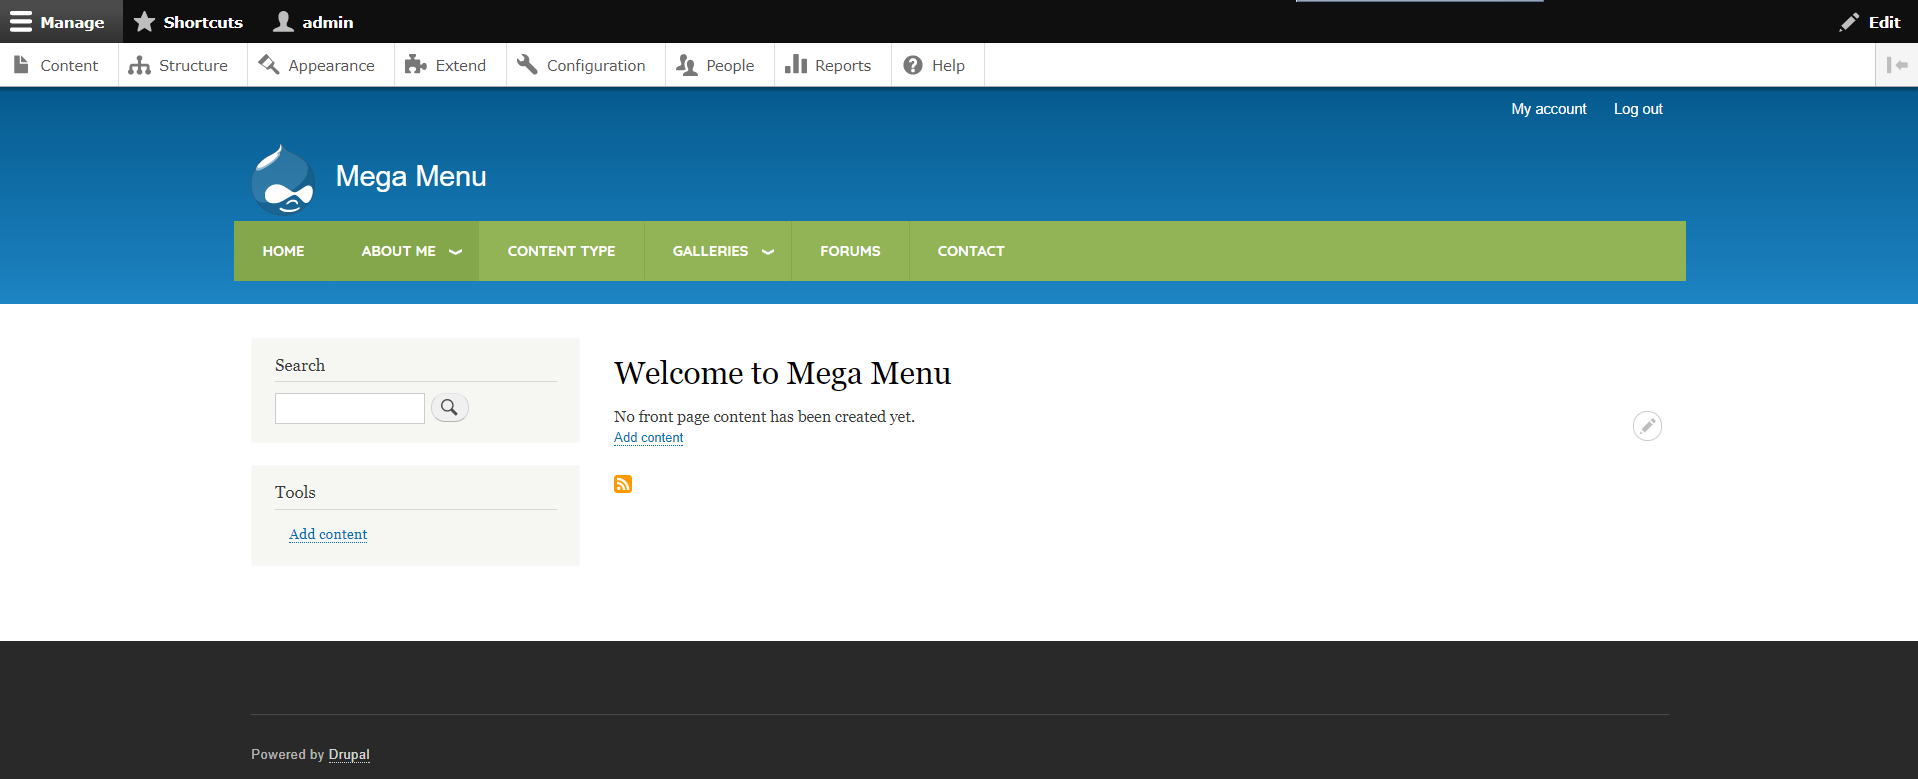
First, we must place Drupal 8 MegaMenu to the Menu Block of your site. Here is an example we place the WB Megamenu at the Main Menu Block.
1. In menu admin, click Structure > Block layout

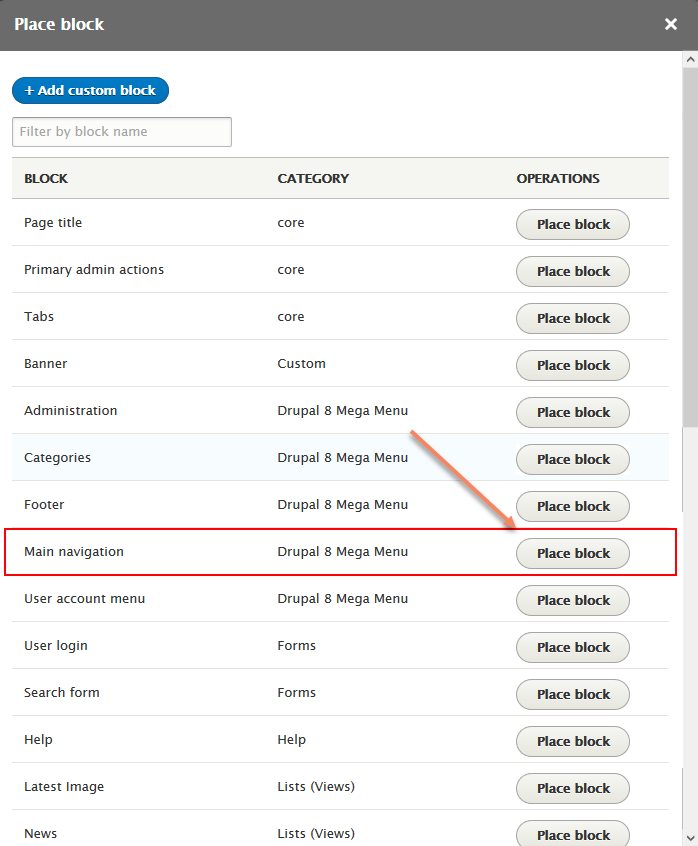
2. Block layout is displayed. Search Main Menu block, click Place block button.

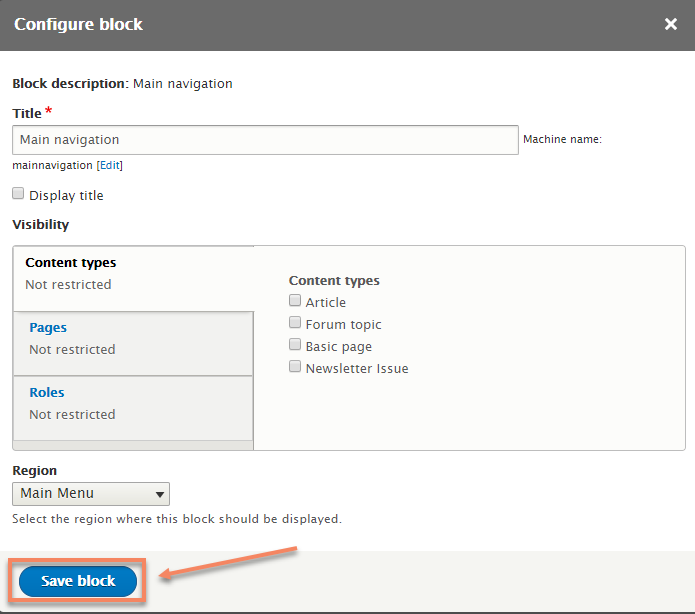
3. Place block pop-up is displayed. You search Main navigation Drupal 8 MegaMenu and click Place block button.
4. Click Save button.
Current on site have two Main menu. You will hide old Main menu.
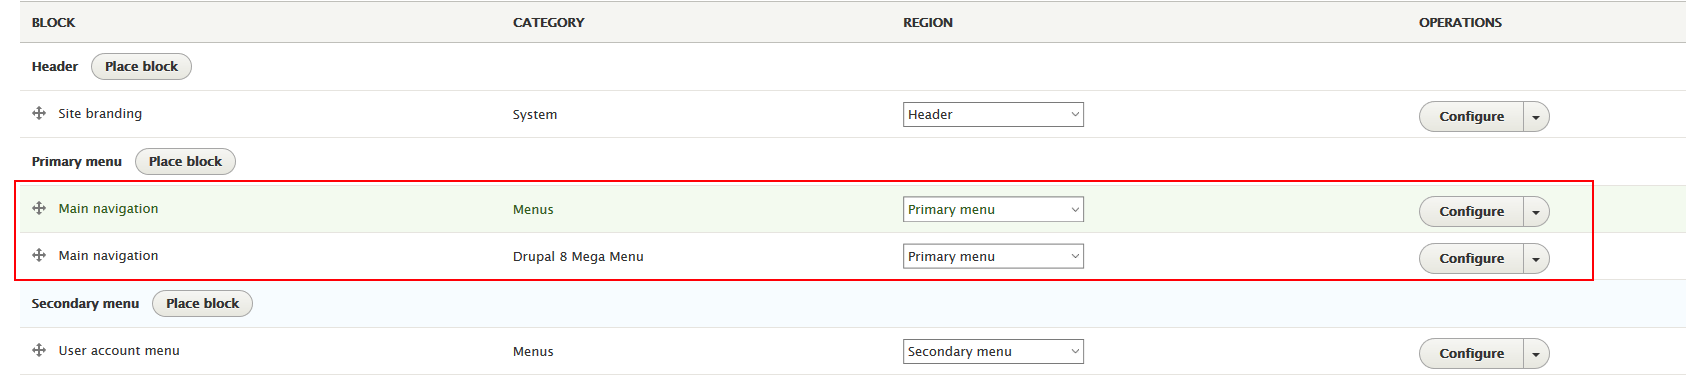
5. Click Configure button of old Main menu.

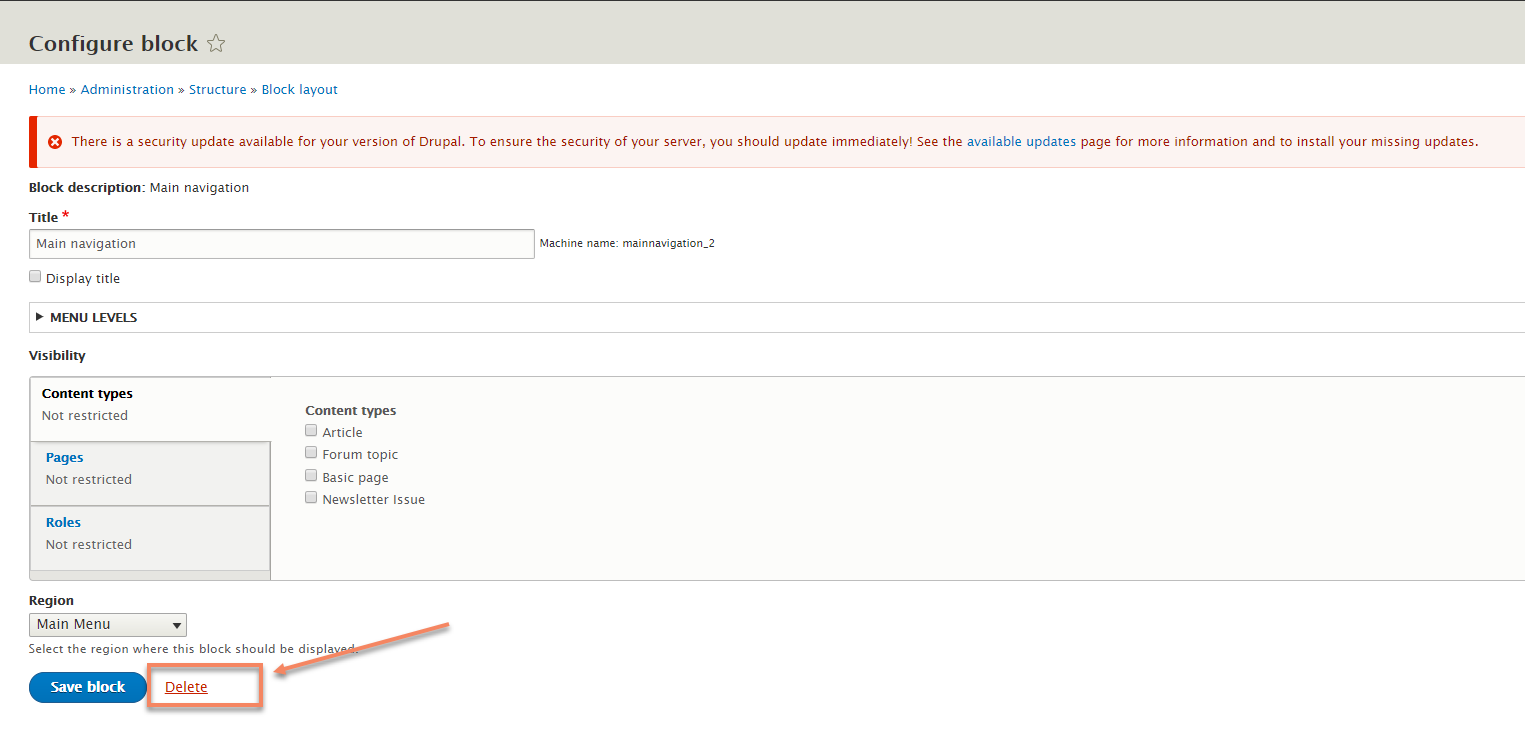
6. Click Delete link to delete Main menu on site.
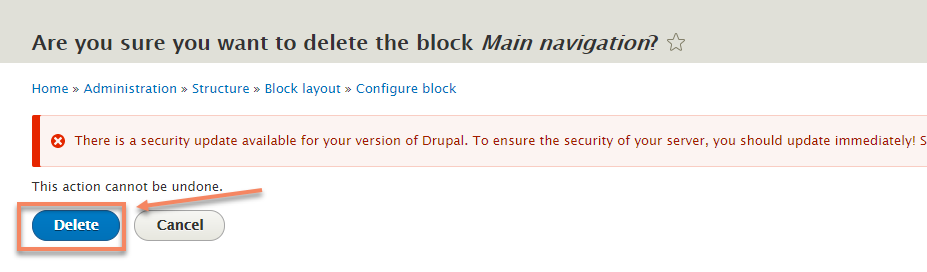
7. Click Delete button.
Drupal 8 Mega Menu main UI
After installing, enable the module and go to Structure > Drupal 8 Mega Menu settings. You will see a list of menus, each menu here is an instance of the existing Drupal menus.
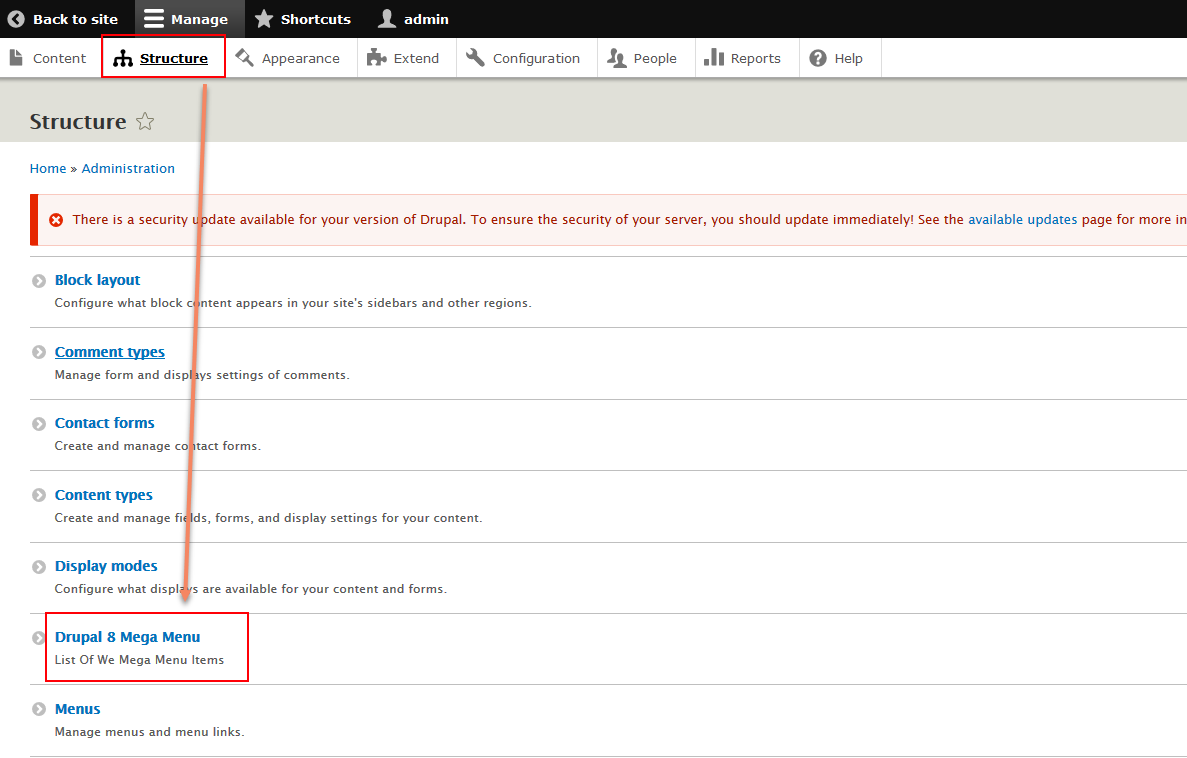
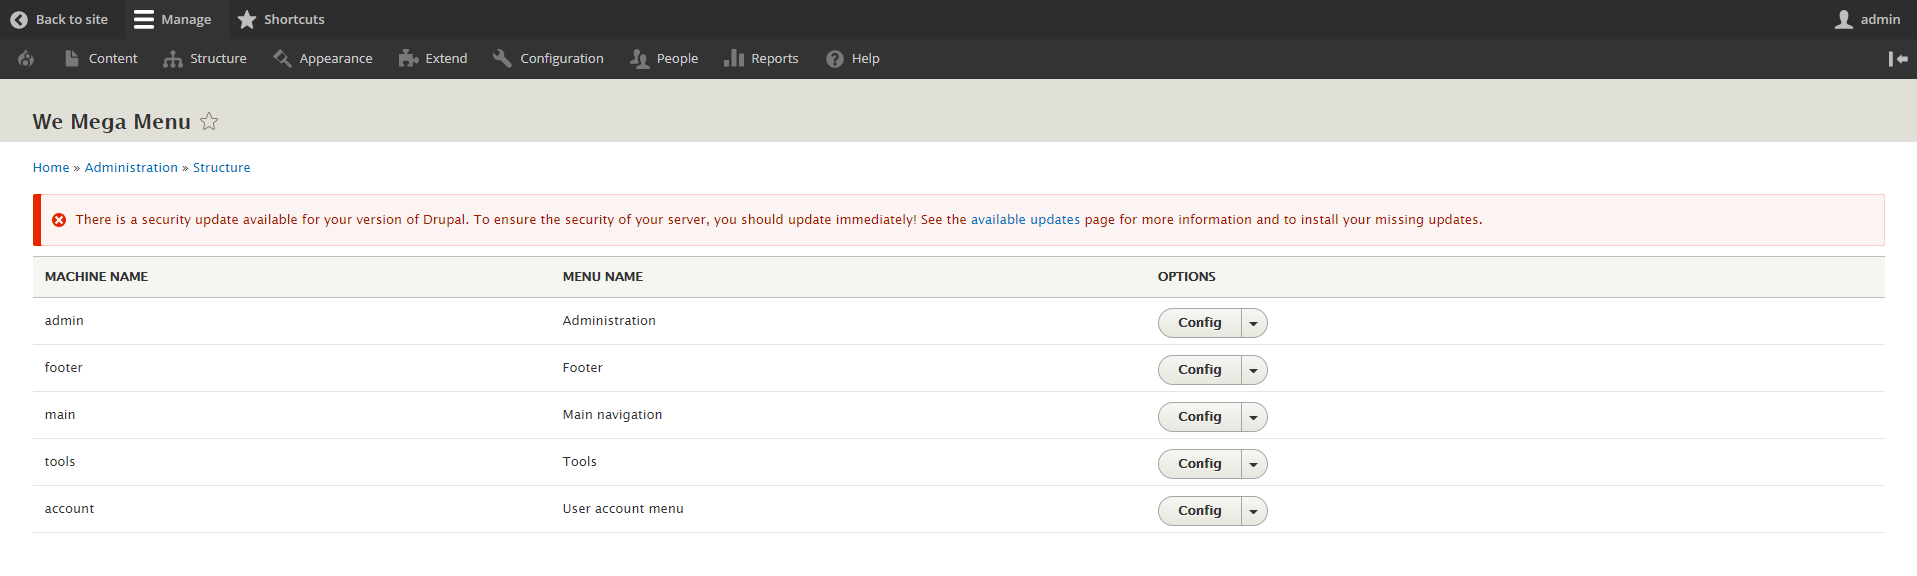
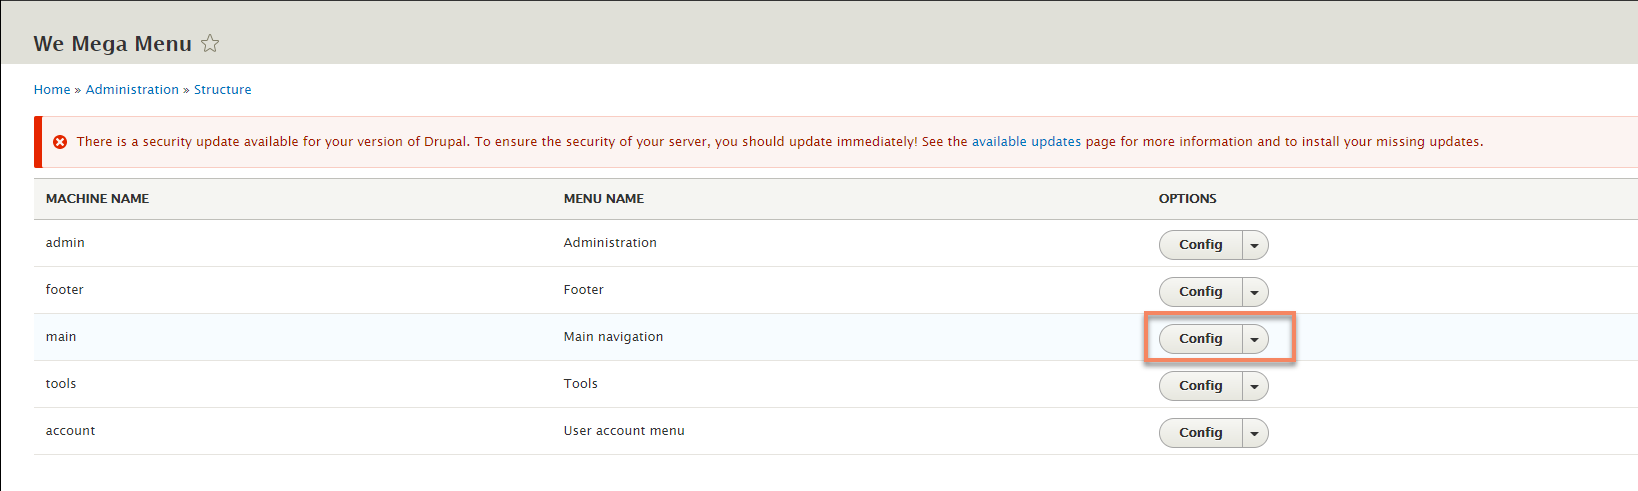
Click on any Config link to go to Drupal 8 Mega Menu main UI. In this guide, we will config Main navigation.
This is Drupal 8 Mega Menu main UI.

WeMageMenu Toolbar

Drupal 8 Mega Menu main UI consists of 2 parts:
1. Drupal 8 Mega Menu simulator: simulate the megamenu frontend interface but has been simplified (without style). You will get what you see here. There are 3 types of clickable elements in the Simulator. They are: menu-item, submenu, column. Depend on the element you select, the Toolbox will display different contents.
2. Toolbox Area: The area that allows you to config selected elementg in the menu simulator. General tool box is displayed by default and when you click on the space in the simulator.
- Style: Set style for the Mega Menu.
- Animation: Set animation effect for the Mega Menu.
- Action: Activate the submenu display.
- Auto arrow: Show or hide an arrow next to the items that have sub-menus.
- Show submenus: Show or collapse submenus when browsing on small screens.
- Save button: Save the configs you have done.
- Reset button: Go back to the last save.
- Reset to default button: Back to the original when you set up Main menu.
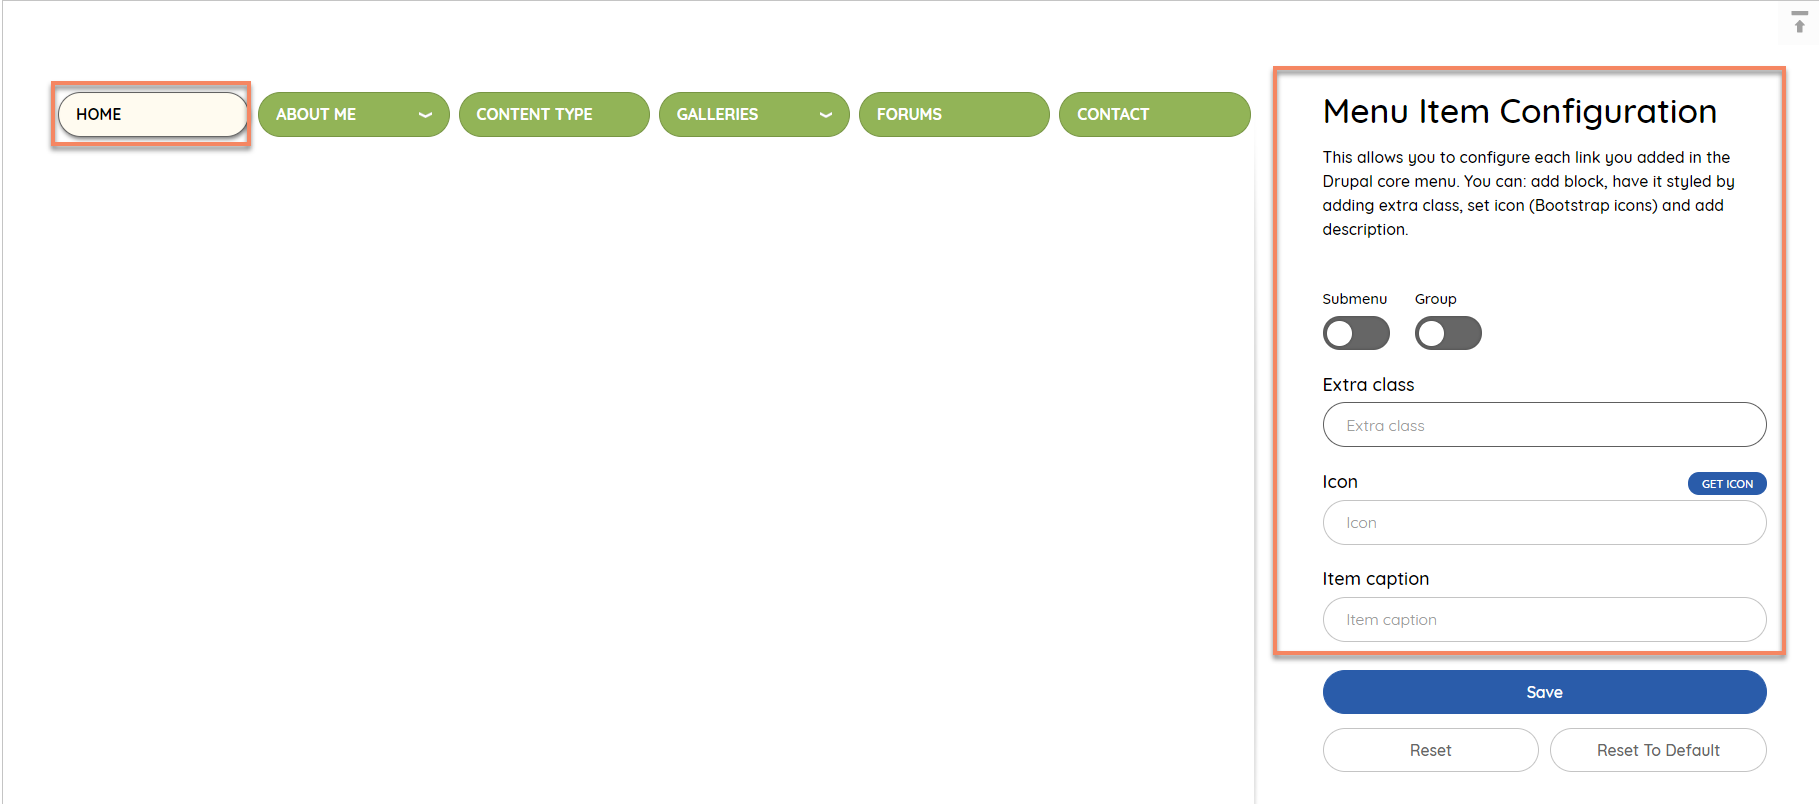
Menu Item Configuration
Click Menu item to display Menu Item Configuration tab.
Click Menu item of submenu.
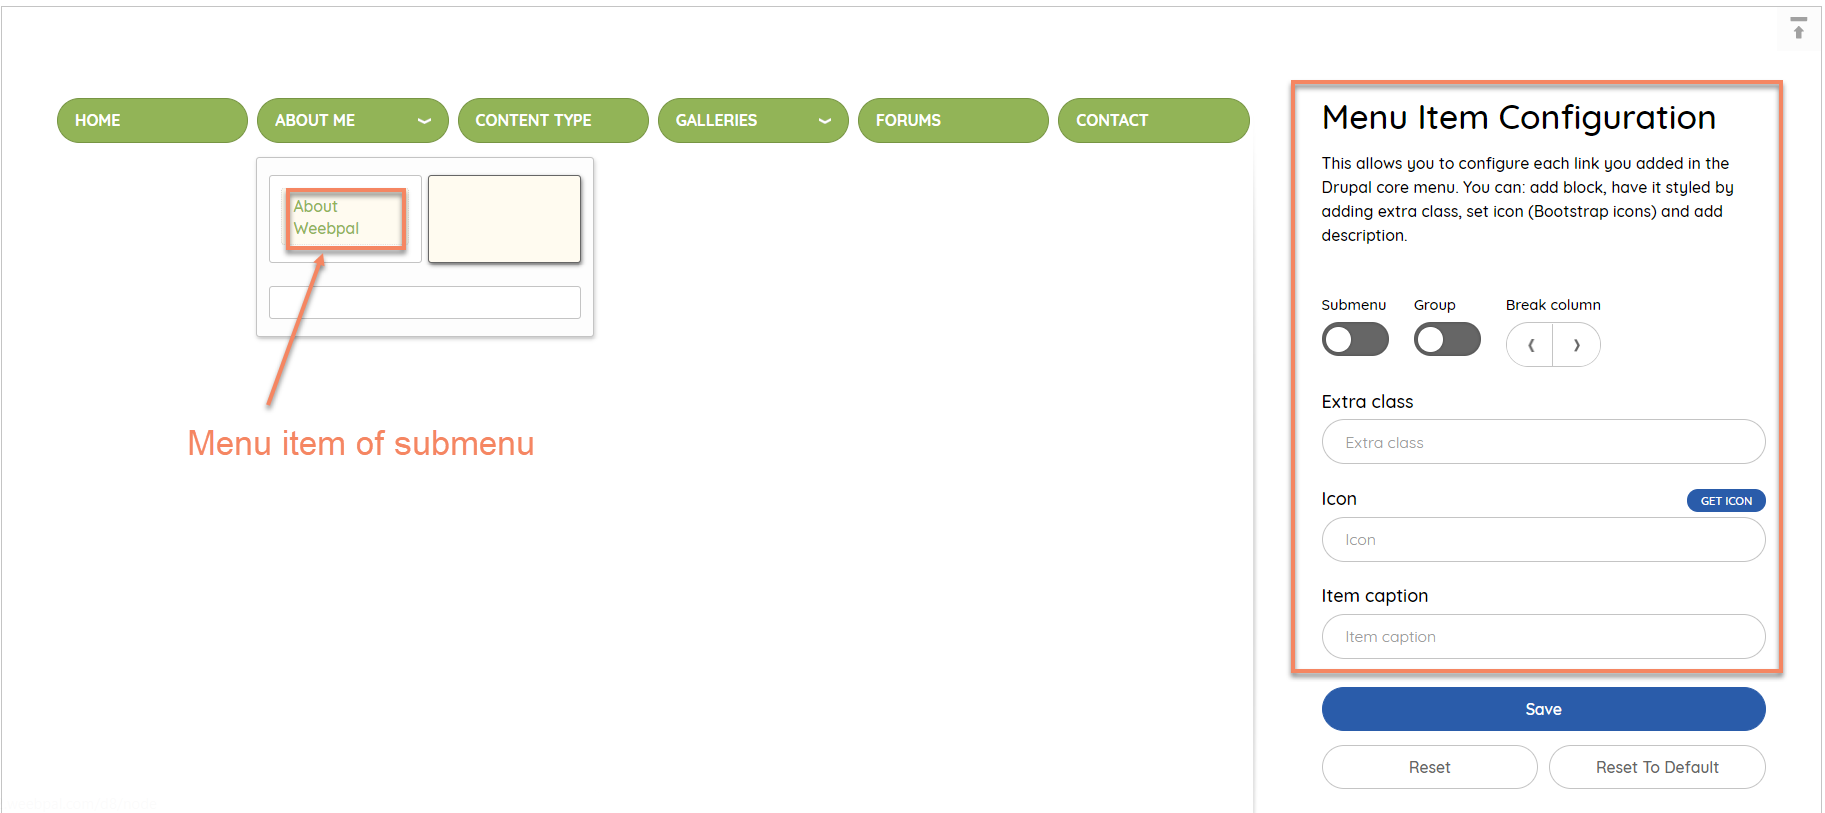
Toolbox Area
- Sub menu: You can enable/disable submenu for this item.
- Group: Config how the selected item's submenu displays.
- Break column: Allows you to move a list of menu items to another column.
- Extra class: Allows you to style the selected items with an extra css class.
- Icon: Allows you to add an icon from http://fontawesome.io/icons to the selected item
- Item caption: Add caption to the menu items.
Submenu Configuration
Click Submenu of Menu item to display Submenu Configuration tab.
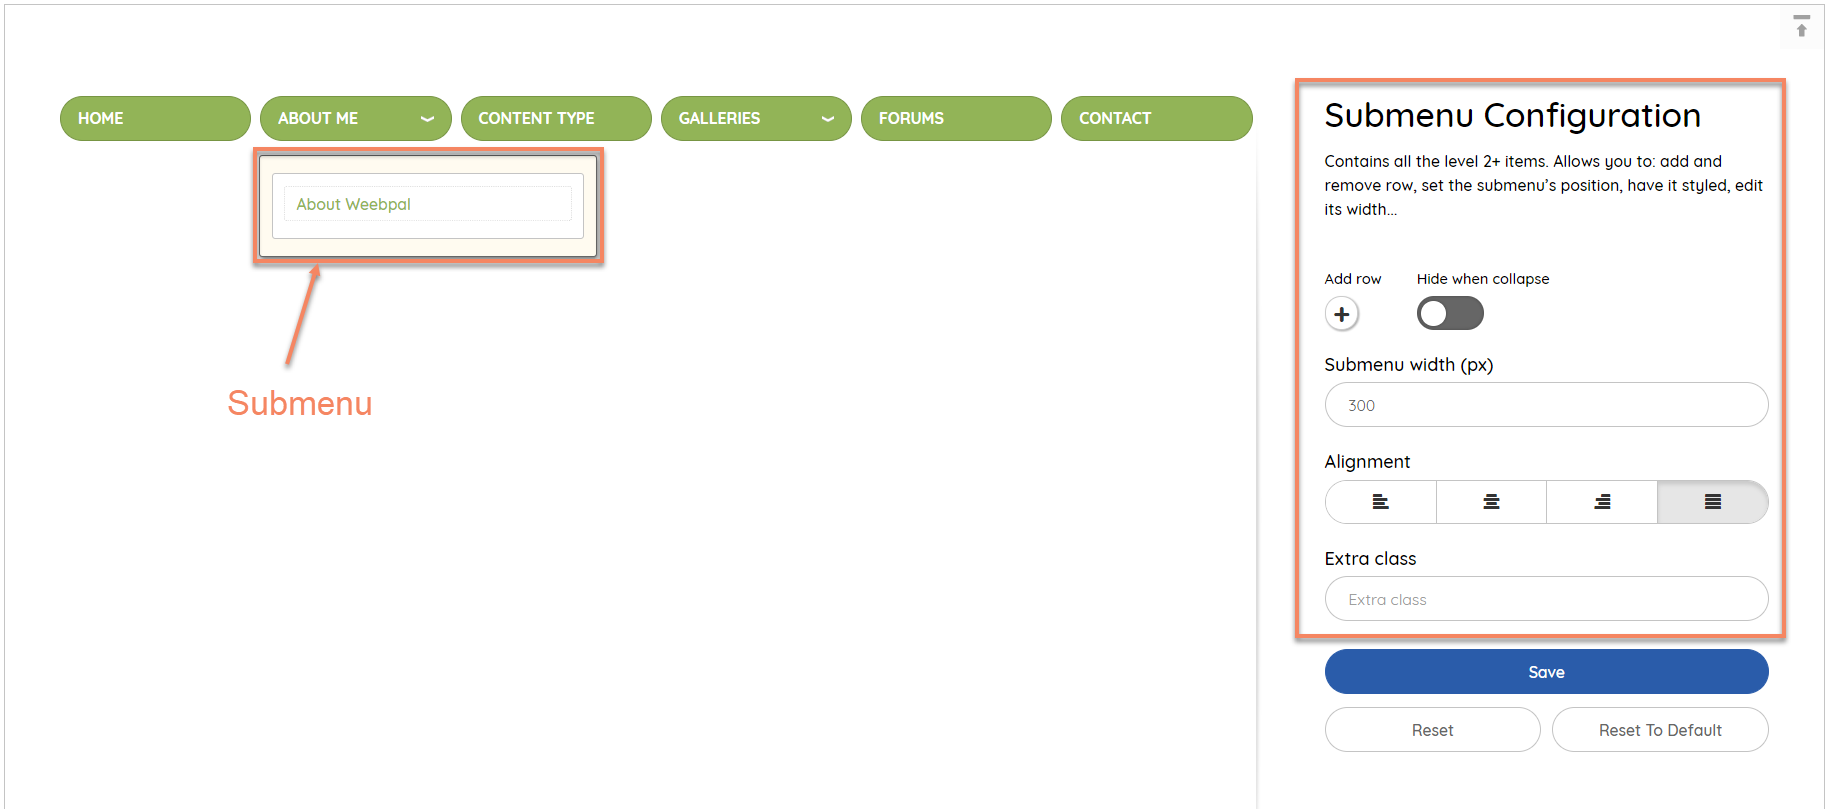
Toolbox Area
- Add row: Add a row to the selected submenu.
- Hide when collapse: Show/hide this submenu when the menu is collapsed on small screen.
- Submenu width (px): Set width (in px) for the selected submenu.
- Alignment: Align the selected submenu: left, right, center, justify.
- Extra class: Allows you to style the selected submenu with an extra css class.
Column Configuration
Click Column of Submenu to display Column Configuration tab.
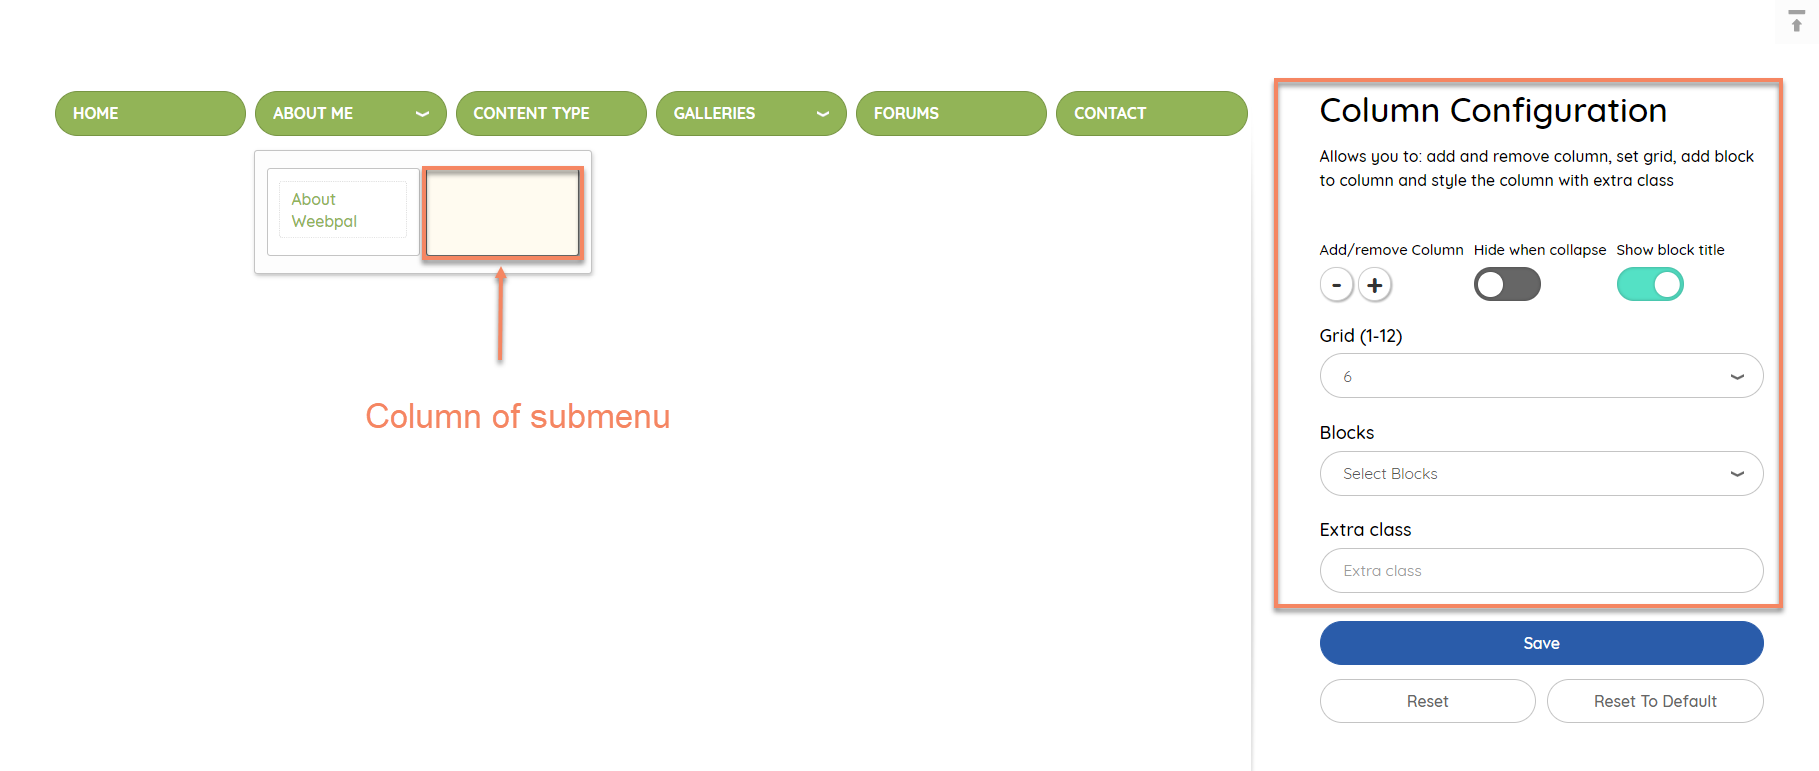
Toolbox Area
- Add/remove Column: "+" to add a new column to the right of the selected column. "-" to remove the selected column.
- Hide when collapse: Show/hide this column when the menu is collapsed on small screens.
- Blocks: Add/replace a block to the selected column.
- Show block title: Show/hide the block selected above.
- Grid (1-12): Allows you to set number of grid columns (Bootstrap grid) that the selected column spans.
- Extra class: Allows you to style the selected column with an extra css class.